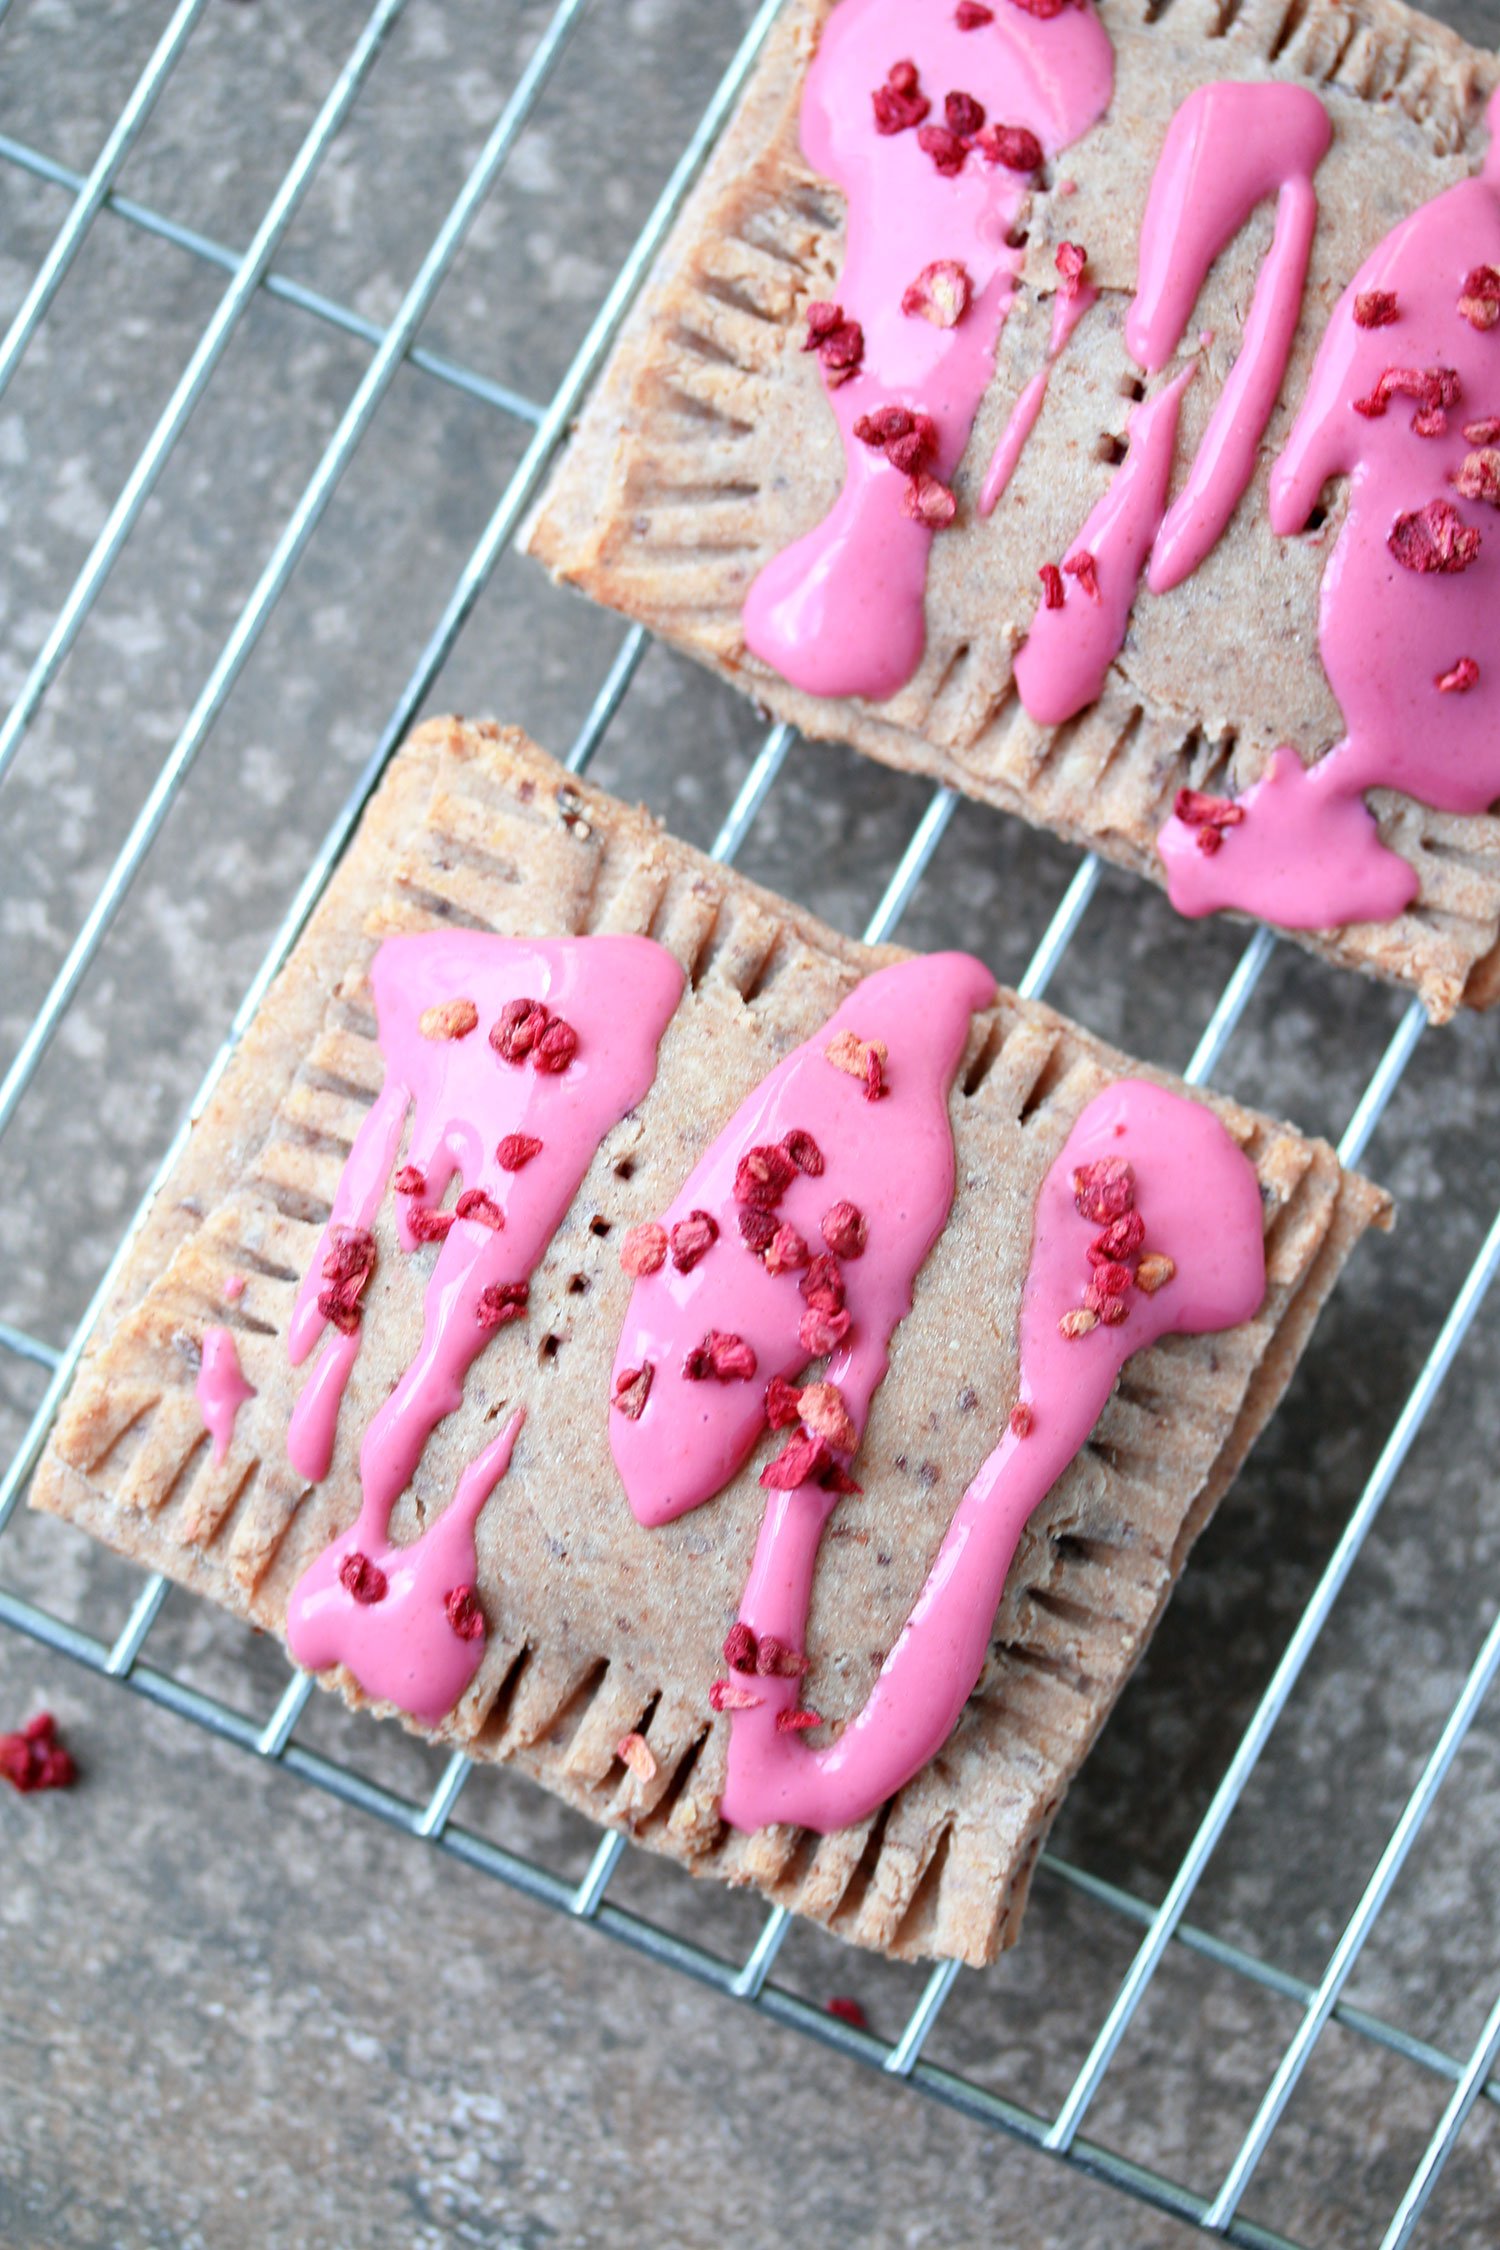
Pb&J Breakfast Tarts make a delicious start to anyone's day, and if you prefer, a good snack. Grab your kids' favorite jelly or jam, maybe some honey, or get creative and add some colored sprinkles, or draw a heart with frosting on top. They are easy to freeze for another day and warmed up in your toaster!
This recipe makes 4 Breakfast Tarts
Prep Time: 45 minutes
Cook Time: 25 minutes
Tools & Equipment
- Rolling Pin
- Sharp Knife
- Parchment Paper (optional)
- Baking Sheet
- Pastry Brush
- Fork
- Plastic Wrap
Ingredients
Flour, for dusting the work surface
Butter, for greasing the pan (optional)
1 chilled Pie Dough
1/4 cup peanut butter
1/4 cup jelly
1 large egg, beaten
1 teaspoon sugar
 |
Directions
Roll out the dough.
On a lightly floured surface, roll out the chilled pie dough to a 10-by-14-inch rectangle, about 1/8-inch thick
Cut the dough.
Using a sharp knife, cut out 8 (4-by-3-inch) rectangles. Re-roll the scraps if necessary to get 8 rectangles. Place 4 rectangles on a lightly greased baking sheet or a baking sheet lined with parchment paper, leaving an inch or so between each rectangle.
Fill the dough.
Spread a little peanut butter over the middle of the dough on a baking sheet, leaving about a 1/2-inch border around the edges. Top the peanut butter with the jelly.
Make the tarts.
Lightly brush a little beaten egg around the 1/2-inch dough border. Place the remaining rectangles of dough over the rectangles on the baking sheet. Using the back of a fork, press down around the edges to seal.
Refrigerate the tarts.
Cover lightly with plastic wrap and refrigerate for about 30 minutes, or until chilled.
Preheat the oven to 400.
Bake the tarts.
Brush a little of the remaining egg wash over the top of the tarts. Sprinkle with sugar and bake for 20 to 25 minutes, or until golden brown.
Helpful Hint: If the dough gets too warm and sticky to work with, cover and refrigerate for 20 to 30 minutes.
Troubleshooting Tip: If you have a hard time cutting the dough into rectangles, cut a piece of 4-by-3-inch paper and use that as your pattern to cut around.
Recipe credit: Kid Chef Bakes by Lisa Huff


